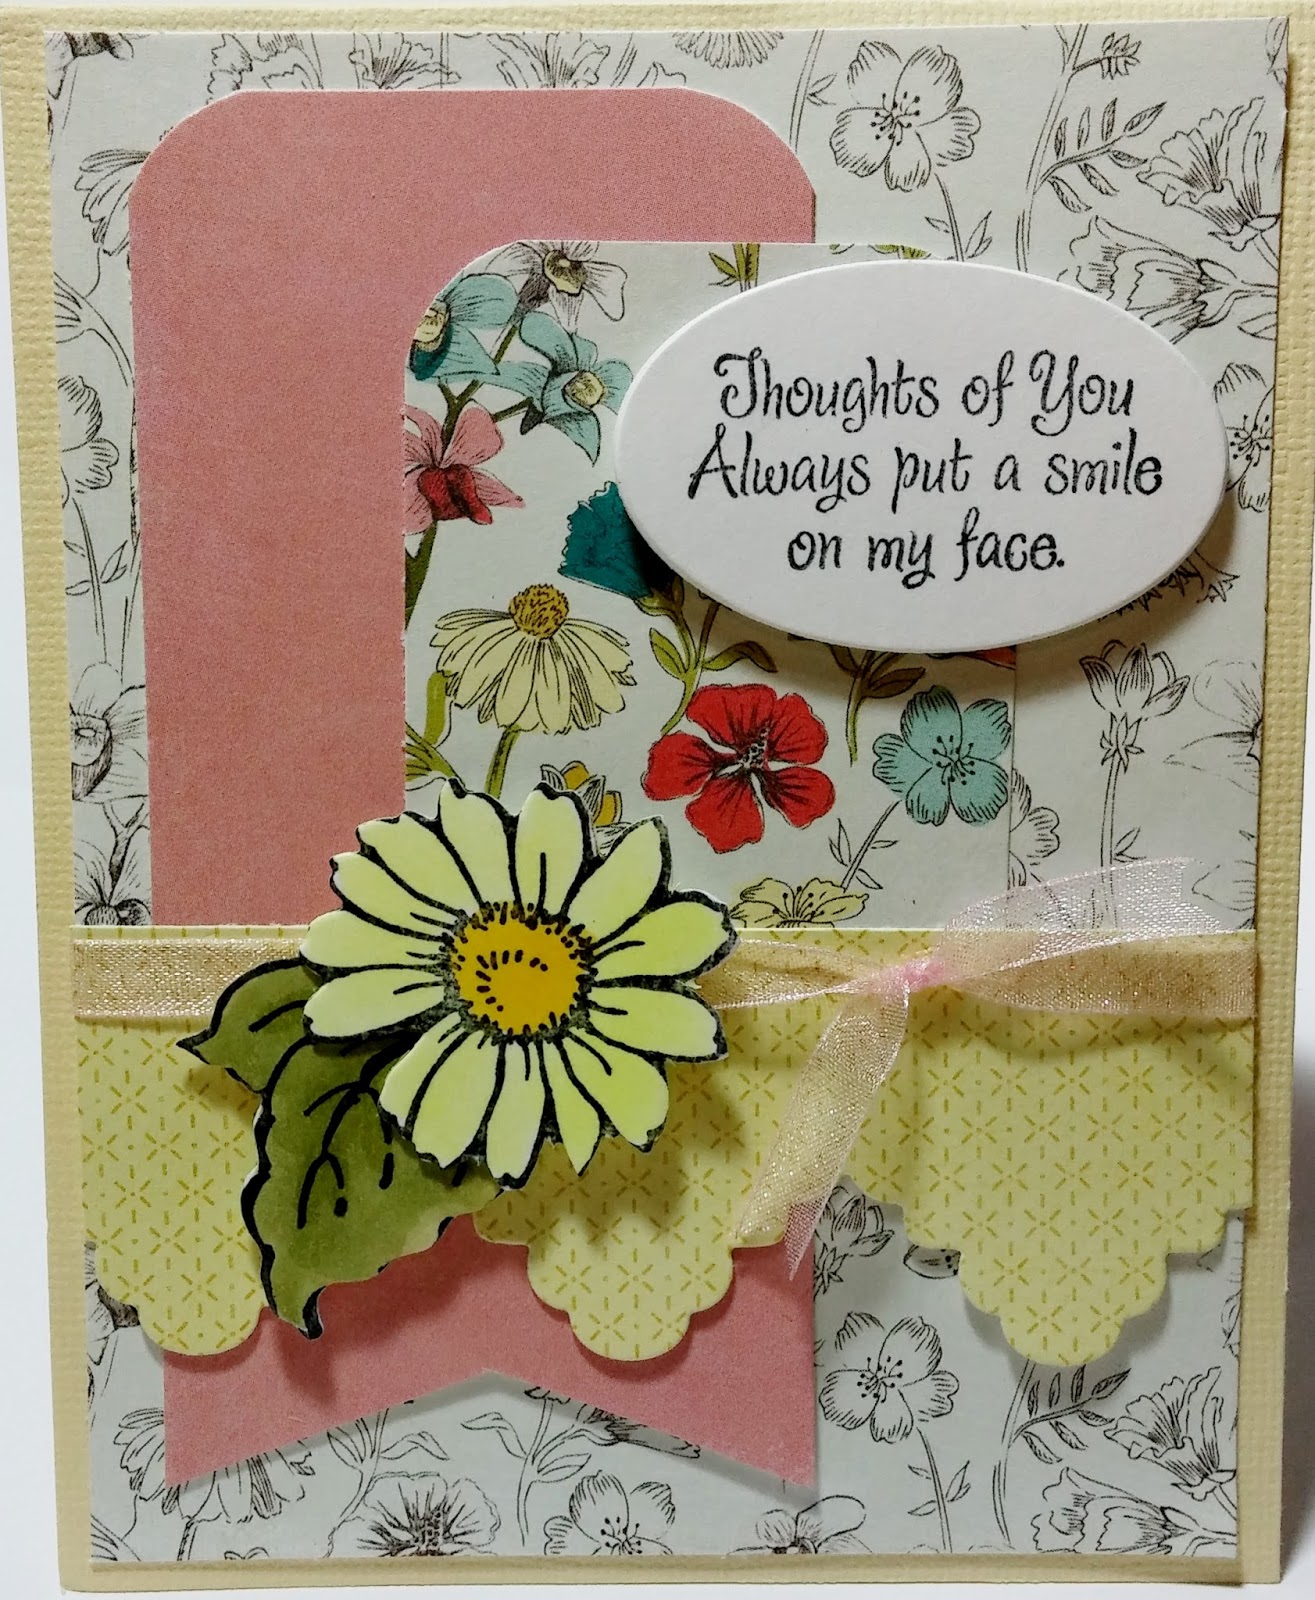
Tuesday, September 15, 2015
DT Pop-Up Bouquet
Posted by Tina at 9:00 AM 0 comments
Monday, September 14, 2015
Baby Explosion Box!
Hello! I am finally able to share the explosion box that Donna and I made on our camping trip for her stepdaughter who is expecting her second child. I hinted that I had something special to share with you but that I had to wait until it was received. Lindsey, her stepdaughter got the box in the mail on Saturday and loved it! So, I am now super excited to get to show you. I think I took about 15 photos of it, at every angle possible but I have narrowed that amount here to 5 of the best ones for you. After doing my explosion box class this last January, I started a pinterest board for different ideas, as I would like to do another class where we add a cake in the inside middle ... maybe next year. So, recently on pinterest, I saw a baby one that had a baby crib in the inside. The blogs showed that their cribs were created from one of the circuit type machines which I don't own, but I thought I just need to think about this and maybe I can make one on my own. You know where this is going ... I did it! I made a baby crib from cardstock with the help of three dies. More details on that in a minute. While I was making a crib, Donna was making her box and deciding on decorations for it. Okay, I guess I have teased you enough! Enjoy!
Here is the box closed and with the easel up on the top ...
Be sure to click on each photo to make it bigger so you can see more of the detail!
All the photos show how baby stickers and embellishments were added to each of the side panels. And in the last photo, you can see that on each of the bottom panels, there are four pull outs with either baby sticker quotes or the one shown on the bottom leaves a place for her to add their signed message. Donna had a gift card and she placed it in the crib before sending! Here a couple of details on the crib I made. First, I came up with the fact that the card loom die would be perfect for the sides of the crib because when you die cut it, it cuts equally spaced lines across with a solid panel at the top and bottom. I just snipped every other strip. My snips weren't all that straight but it didn't matter because she added the ric rac right over the top! I created a base for the all the sides to attach to. The two ends were made with a Spellbinders D-Lite Window die. The top of this die has this pretty filigree opening and I knew it would make perfect sides for a crib. I had to make a white cardstock pattern for both sides to cover up the window opening. The last part was the feet. On two sides I just added a rectangle piece that I had die cut the bottom part with Spellbinders Label 25 and also attached it to the bottom of that same base. I am so very proud of my baby crib creation and so proud of how great Donna decorated this beautiful box for her stepdaughter and her new baby! If you have any questions, or would like to know more details, I will gladly provide! Awesome, right?
Happy Stamping!
Tina
Posted by Tina at 2:54 PM 0 comments
Saturday, September 12, 2015
Saturday's Sketch Share!
Hello! I am back today with another share between Debbie and I. So, let's get right to it. I will show you mine first, then hers, and then the sketch we both used. Enjoy!
![]() |
| My Card |
![]() |
| Debbie's Card |
![]() |
| The Sketch |
Happy Stamping!
Tina
Posted by Tina at 2:51 PM 0 comments
Friday, September 11, 2015
A Banner of Thanks!
Hello! A couple of weeks ago, Donna and I made some patriotic cards to add to each of the boxes that Blue Star Mothers were sending to our troops. I have yet to show you the card we made. I have it for you today. Enjoy!
This was a really simple design and we used papers from a 6 x 6 pad from Authentique, along with a banner set die from My Favorite Things. But ... sometimes the ideas that look simple are not all that quick, which we found out. We worked on them together and then had to divide up the remaining pieces for each of us to finish at home. But, I do love the result! And, because the card just is on top inside the box, we didn't have to worry about the size, therefore no worries about an envelope!
See you tomorrow for the Saturday share!
Happy Stamping!
Tina
Posted by Tina at 9:00 AM 0 comments
Thursday, September 10, 2015
With Sympathy!
Hello! Let me see, I think there are still a couple of cards and such that I have made but haven't shared with you yet. Today, I think I will show you the sympathy card and gift tag I made for a friend a couple of weeks ago. Even though the occasion is sad, it is still a pretty card to share. Enjoy!
Sympathy cards are cards that I do think simple is better, but I still made the card with a sketch, just a simple one. The tag was made with a tag set die from Elizabeth Crafts. The tag was made at least a week later than the card, so it doesn't exactly match. But, both are pretty. You think?
Tomorrow I have the last patriotic card that Donna and I made for the troop boxes. And I am going ahead and setting up the baby gift that Donna and I made for next Monday's post. I just can't show you until I know for sure her stepdaughter has received it.
Happy Stamping!
Tina
Posted by Tina at 8:48 AM 0 comments
Wednesday, September 9, 2015
September Class Share!
Hello! I am teaching again in just two weeks. I tried to make my card samples early, knowing I would be gone for several days last week, but I only got two of the four done, so this week, I finished them up. Yes, four cards are in this class. Back in the summer at the scrapbook show, the owner of Art Impressions talked me in to teaching a class with some of their product but I put it off until now because I really wanted to play with their holiday stamps and dies. I knew I wanted to also do a Halloween card this month. On my teaching day last month, an order came in from Inky Antics! Perfect timing and oh, such cute images that I knew would be a great class addition! Here are my cards for September's class ...enjoy!
First, is the pretty fall card with a set of stamps Art Impressions call TryFolds ...
I wanted a way for it to stay closed, so I opted for a little Velcro! It works! Here is the foldover card opened ...
And this is what you see, when you open the card ...
And then you open the orange flap, and this is what you see ...
I told you there were some adorable creepy crew images and fun folds too!
Now, to the Christmas ones. The set I used had both snowman and penguin front and back images. I couldn't decide which one to use, so I decided to two do cards so I could make one with each image set. As you know, ever since my June class of shaker cards, I have been addicted to the shakers! So, I couldn't resist doing one of those here ...
The second card is similar but no shaker, just an open hole. The front ...
Happy Stamping!
Posted by Tina at 10:51 AM 0 comments
Sunday, September 6, 2015
Saturday's Sketch Share (a day late)!
Hello! I didn't forget yesterday about the weekly share but I didn't get home from a little mini trip until the afternoon, so I decided to put it off until today. My BFF, Donna, and I (and 2 of our doggies) spent 4 nights at a state park about an hour from here! Her and her hubby recently bought a travel trailer and her hubby was kind enough to drive it there, set it up, and leave and then come back and get it. We had planned to stay only 3 nights, but asked on Wednesday if it was possible for us to stay another night. We were thrilled, but a little surprised that they said yes, after all, it is Labor Day weekend! It seems we had the prime spot of the whole park, and one that as people were coming in for the big weekend, they were asking for! When we got there on Tuesday, we had the pick of any spot! We had a great time! We played games, and crafted a lot. Later this week, I will be showing you the "gift" that we made for her step daughter who is having another baby. Yes, I am being a little secretive, as I am friends with her on FB and I want her to get the gift before I talk about it! I will say it is awesome! We also made several Halloween cards that I will also share with you sometime soon!
Now, on to today's share ... I will show you my card, Debbie's card, and the sketch we both used. Enjoy!
![]() |
| My Card |
![]() |
| Debbie's Card |
![]() |
| The Sketch |
Enjoy the holiday weekend!
Happy Stamping!
Tina
Posted by Tina at 8:49 AM 0 comments