Tuesday, April 29, 2014

Sending Get Well Thoughts!

Hello!  Today I have one of the get well cards I made for a lady at church.  But, the only thing that makes this card a get well one is the get well sentiment I have on the front.  Change the sentiment to happy birthday, thank you, etc. and you would have a card for another occasion.  Let me show you my card.  I think you are going to like it ...enjoy!


I love how this one turned out.  The sketch idea is from a card I saw on pinterest.  Thank goodness there are so many awesome card makers out there for us to get ideas from, right?

Recipe:
Paper - Simple Stories Vintage Bliss 6 x 6, Cardstock White, Green
Stamps - Flower from Flourishes, Sentiment from Rubbernecker, Butterfly stamp & die set from Hero Arts
Ink - Memento Black, Copics

Tools - Spellbinders Lattice Rectangles
Other - Rhinestones, Ribbon by May Arts

Happy Stamping!

Tina

Monday, April 28, 2014

Bluebonnets for You!

Hello!  I have a card to share and a couple of photographs.  My friend from church, that purchases cards from me, asked me to make her some get well cards.  I will have a card a day to show you.  Last week, on my way to teach, I took the Bluebonnet trail near Ennis, and captured a couple of beautiful photos.  Inspired by those, I decided to stamp out a bluebonnet image for one of the cards that I needed to make.  Card first, and then photos ... enjoy!


I really wanted to showcase my bluebonnet image, so I did a tent card.  The idea was to make the fold-over card small, but when adding the main image, it would be as tall as an A2 card. I wasn't thinking about the correct size for the fold-over when I made it.  I realized after all the pieces were cut and added that my fold-over should have been larger. Because with my main image added, it is only 5" tall.  I couldn't put my main image any higher or it would have looked silly.  The solution would have been to remake the fold-over, but I decided to leave it, as is.  No one will even think about the card being smaller than norm.  The inside sentiment I used is "Find joy in everyday blessings".  This card doesn't say the actual words "get well" but it will work just fine for the occasion.

And how about those bluebonnet photos?  Awesome, huh?  They are not as filled in as they were a couple of years ago, before the drought that we have had, but they are close!  So pretty!  They just make me smile!

Recipe:
Paper - Plaid by Little Yellow Bicycle Poppy 6 x 6, Cardstock White, Blue
Stamps - Bluebonnet by Deadbeat Designs, Sentiment by Rubber Stamp Tapestry, inside Sentiment by Verve (not shown but talked about)
Ink - Memento Black (sentiments), Tombow Markers (directly on stamp and spritzed with water)

Tools - Spellbinders Classic Oval, Labels 20
Other - Ribbon by May Arts (colors ...perfect), Rhinestones by Queen & Co.

See you tomorrow!

Happy Stamping!
Tina

Sunday, April 27, 2014

Sunday Words of Wisdom!

Hello!  Here is my pick of the day ... enjoy!


Good reminder, for sure!
Happy Stamping!

Tina

Saturday, April 26, 2014

Saturday's Sketch Share!

Hello!  I am off to teach today at the store, so we'll have to make this a quick one ... I will be showing you my card, Debbie's card, and the sketch we both used.  This is the week for the circle or square choice.  Today, you get one of each !  Enjoy!

My Card

Debbie's Card


The Sketches
Do you like my cute ducky?  This image is the other image from a set of stamps I am using in class today.  Too cute ... and bright and colorful too!  I love that "Be" die that Debbie used.  I need to find out who makes it because I might "need" to own it ... Hee, Hee! 

I hope you enjoyed today's cards.  I will see you tomorrow for the words of wisdom post.  Also, a got a couple of get well cards made for a friend at church so I will start showing you those early in the week. 

Happy Stamping!
Tina

Friday, April 25, 2014

Happy Bird-Day to You!

Hello!  Today I have a card that I made for Carolyn, the owner of The Crafty Scrapper a couple of weeks ago.  I gave it to her on her birthday bash day.  I just realized yesterday, when I saw it at the store, that I had not shown it to you here ... enjoy!

 
I thought it would be fun to make her a box card with some Inky Antics stamps that I got at her store!  I taught this very simple card to make in my January class.  The paper is from Bo Bunny.  If you flip around the box, you can see the message on the back.  Here is a photo of that ...

 
 And then it folds flat to go into an envelope ...


I did find out something this time though.  Do you see that when the card is folded flat, that you see in the right hand corner that the print is upside down?  This didn't happen on the January card, as that paper was an all over floral pattern.  It is not that big of a deal, as this particular card is at the store in the opened, upright position, but it is something to think about as I (or you) make this card again! 
 
Happy Stamping!
Tina

Thursday, April 24, 2014

Hoot, Hoot ... Hats Off To You!

Hello!  This is my teaching week so that is why you haven't seen me.  There was a lot of prepping for this one because each kit had 4 cards instead of 3.  I added a fourth card as a thank you because this month marks three years of teaching every month. Wow!  Anyway, yesterday, a card I did for the design team went live but I didn't get it on here for you, so that is what I am showing you today.  I realized I also never showed you the card I made for Carolyn, the owner of The Crafty Scrapper, that I gave to her on her birthday bash day.  I will have that one to show you tomorrow.  Here is the post that was on The Crafty Scrapper's blog yesterday ... enjoy!
 
 
Hello, it is Tina here today with another card creation made with stamps and supplies from The Crafty Scrapper

The designer papers I was given was the Bo Bunny Pop Quiz line, which is all school related.  When I saw the set of owl stamps from Maya Road, I decided it was a perfect time to combine the two and create a graduation card. 


I made the little grad hat out of some black paper and added a homemade tassel out of some black crochet thread.  The scallop border is a die from My Favorite Things.  That little star pin is the perfect added touch!
 
 
I hope you enjoyed my card for the day.  You can find it and all the supplies at The Crafty Scrapper!
 
See you tomorrow!
Happy Stamping!
Tina

Sunday, April 20, 2014

Sunday Words of Wisdom!

Today is Easter ... makes this pick really simple ...enjoy!


Happy Easter!
Happy Stamping!

Tina

Saturday, April 19, 2014

Saturday's Sketch Share!

Hello!   I am back with two adorable Easter cards for you from Debbie and I.  Let's get right to it.  I will show you my card, Debbie's card, and the sketch we both used.  Enjoy!


My Card

Debbie's Card

The Sketch
I think both Debbie and I weren't too sure of this sketch at first glance, but after creating with it, we both really liked it.  One note on mine, did you see I didn't use any designer paper?  I stamped a floral background, just like I used to in the old days, before we had beautiful designer papers!  That bunny with those long ears on Debbie's card sure makes me smile!  What do you think of today's cards?

Happy Easter to you and yours!
Happy Stamping!

Tina

Thursday, April 17, 2014

Some Bunny Loves You!

Hello!  I have one more Easter card for you today featuring one of the My Favorite Things Pure Innocence stamps that I got this year, but hadn't inked up yet ... enjoy!


Yes, I did my favorite technique ... paper pieced!  One scrap of paper, using both sides, adding bright cardstock, and an adorable stamp .. and there you have a really cute card!   How can you argue with that?

Happy Stamping!
Tina

Wednesday, April 16, 2014

Shake a Leg, Find an Egg!

Hello!  I decided to not make Easter cards, as there is just not enough time to get my usual 20 or so made.  It has been a busy month between the make n take and the women's tea.  But, yesterday, I was out in my shack and was thinking I would put away the Easter stamps, and I found some sets that I purchased this year and haven't inked up yet, so ... I made a couple of Easter cards ... it would be a shame not to at least ink up a couple of the new ones, right?  I have one for you today, and one for you tomorrow.  And then the Saturday share is Easter too.  Here is the one for today ... enjoy!


I love how this one came out!  The bunny and sentiment is from a set from Inky Antics, new this year.  And the paper is from my stash.  I think it is some old Easter paper from We R Memory Keepers.  Bright and fun, don't you think?

Happy Stamping!
Tina

Sunday, April 13, 2014

Sunday Words of Wisdom!

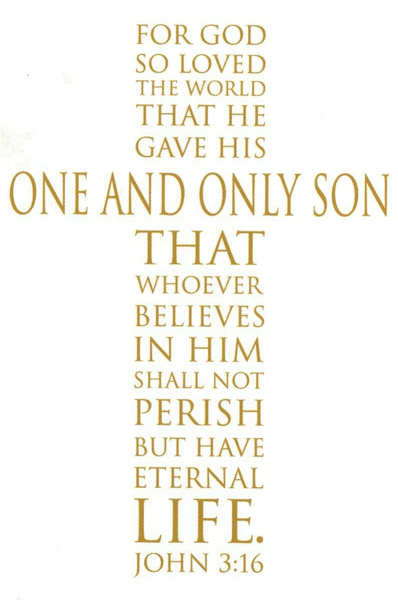
Hello!  Knowing it is Palm Sunday, finding good quotes for the day was easy.  I picked one and then I kept finding these ones that were in the shape of crosses, so today, you get three!  (I guess I am making up for not doing one last Sunday!)  Enjoy!


Yesterday's make n take was like teaching one of my classes but on steroids.  It was non stop from 11 a.m. to after 6 p.m.  Fun, but boy, was I tired.  Still thinking I am not going to stress about not making a bunch of Easter cards to send.  I think it might be too much. (Hope I can stick to this decision!)  But, I did promise one of  my friends from church that I would get some get well cards made for her, so I will see you in a few days with those. 

Happy Stamping!

Tina

Saturday, April 12, 2014

Saturday's Sketch Share!

Hello!  I am back with another share between Debbie and I.  We had better get right to it, as I need to leave shortly to go to Waxahachie.  I am prepped and ready to take on the 100 make in takers!  If you missed what my make in take is, you can check out my post here.  And if your local, this is the day to come to the store, even if you aren't signed up for the make n takes, because she is doing scratch offs with big discounts and giving away door prizes.  It is her 9th year in business.  She is on her way to catching up with me!  Ok, now back to the cards.  I will show you Debbie's card, my card, and the sketch we both used.  Enjoy!

My Card

Debbie's Card

The Sketch
I think we both thought it was a nice sketch.  A horizontal one, that is nice, as I think most sketches are vertical.  Do you like it?

See you tomorrow for Sunday words of wisdom.  Maybe I will have two quotes tomorrow, since I see that I forgot last Sunday!  (bad girl!)

Have a great spring day!
Happy Stamping!

Tina

Friday, April 11, 2014

My Challenge Project!

Hello!  As you know, I am on the design team for The Crafty Scrapper.  About two months ago, they gave the team members a challenge.  They gave us a bag of items, including a bunch of half moon shaped chipboard pieces, some with scallops, some not.  Also, paper tickets, a pearl chain, chipboard pieces like hearts, birds, and words, rhinestone shapes like a butterfly and a tree, a paper doily, tiny wooden spools, and buttons, an acrylic square, and ribbon.  The challenge was for each person to create something with every item given.  You could add items as long as you used all of the items in the bag.  They have been showcasing the end results for at least a week now.  You can check them out on The Crafty Scrapper's blog. Go back to April 2nd and then go forward to see all the challenge results.  Mine is on there today, but I wanted to share with you here too.  So, let's get back to my project ... Right after I got the "bag" of items, I was at my friend's Donna's house and the first thing we thought of when we saw all those half moon shaped pieces laying on top of each other was a birdhouse roof!  Why?  Who knows, it just seemed to fit and so, I went straight to pinterest to find some birdhouse ideas.  Let me show you the first photo, so that as I am giving you details, you know what I am talking about.  I also took a photo of the bag of items.  Enjoy!


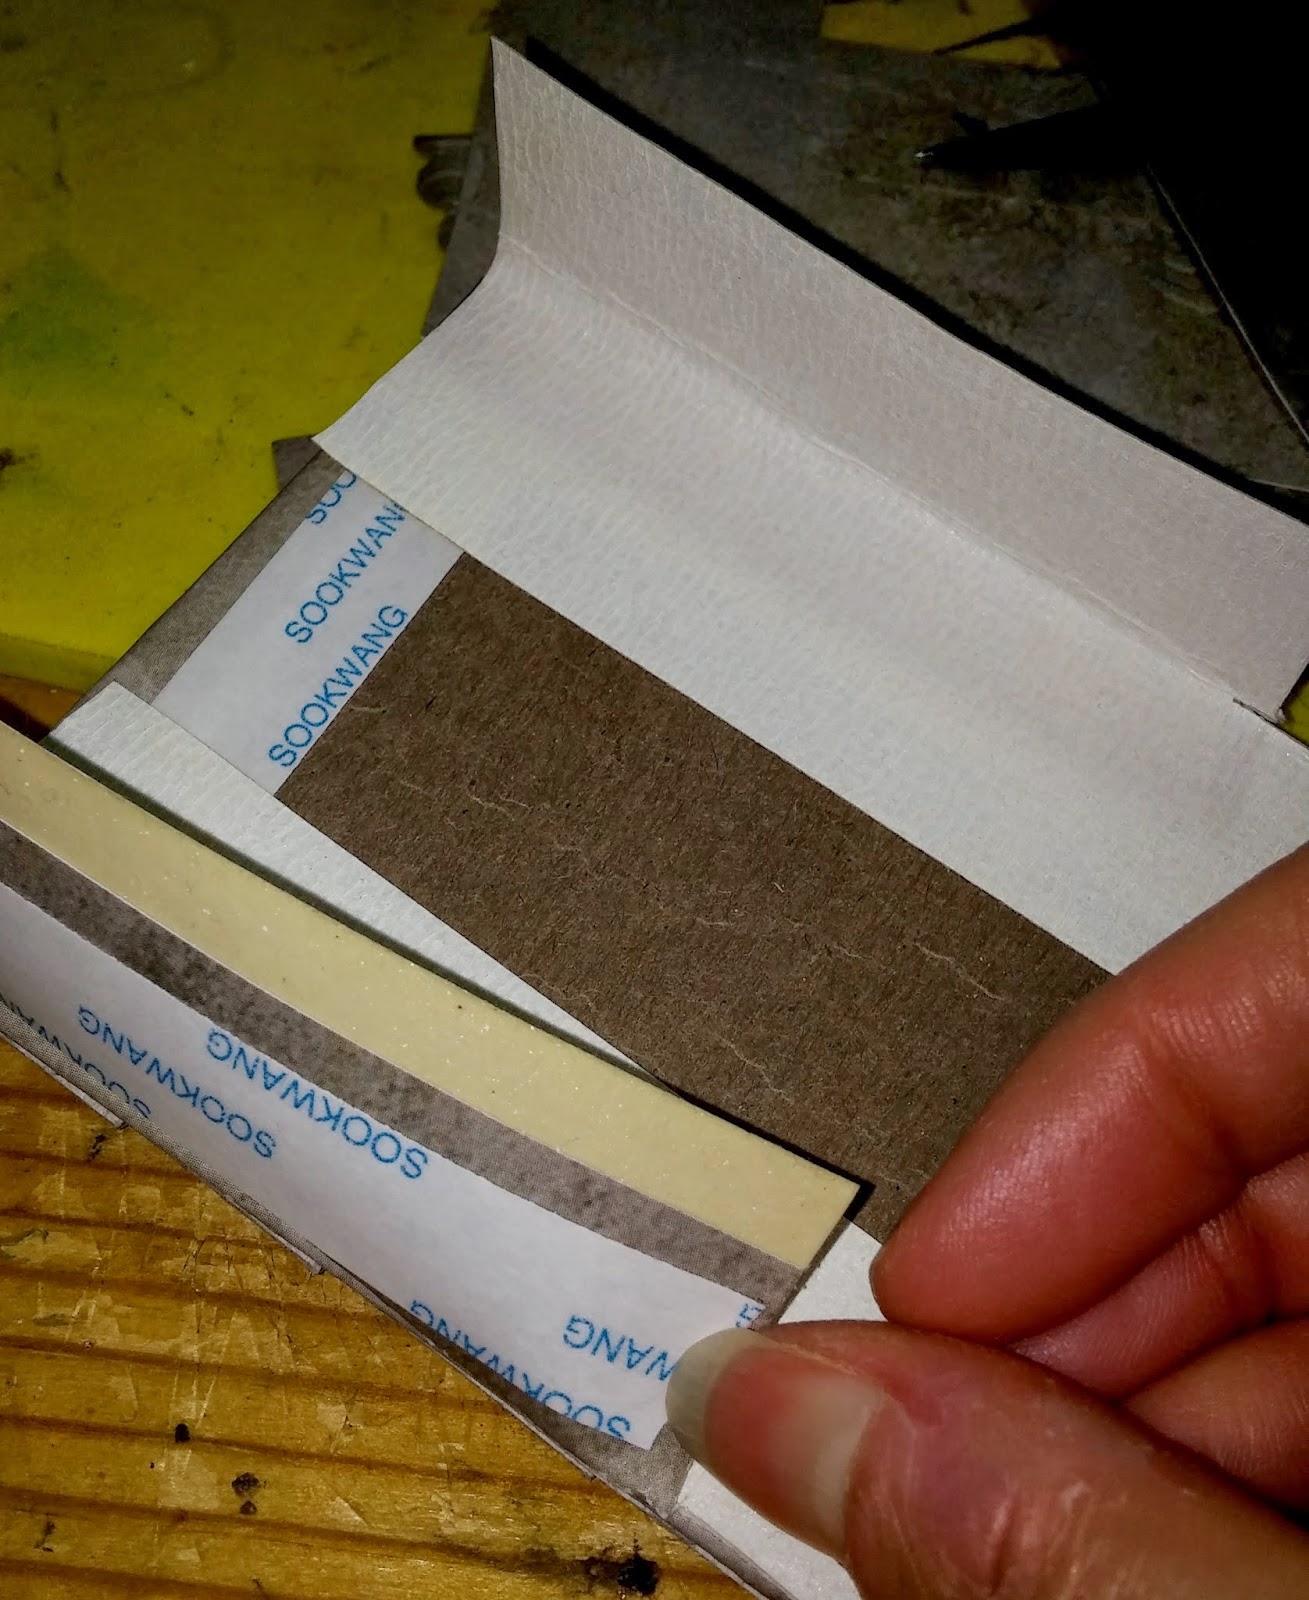
A 3D birdhouse made from scratch?  I am really proud of what I made.  Now, for some details ...I got a pattern for the front shape from the internet and enlarged it.  I repeated the size for the back.  The roof line was the width of the scallop half moon shaped pieces.  I used more of the half moon shaped pieces on the sides, this time cutting them to resemble shingles.  I sponged some Grey Concrete Distress Ink on them and used an embossing folder to add a wavy pattern. Each panel was covered with scrapbook paper before adhering together.  One note I want to make here, is that I covered the chipboard panels the old fashioned way.  What I mean by that is that I mitered corners and the scrapbook paper went around the chipboard panels instead of how they do it now by adhering the papers only  to the edge and then sanding the excess away.  I debated about this, but decided to go with the way I know and most comfortable with.  Just FYI, the papers I used on the front and back is Pebbles Yours Truly Line, called Darling.  I got it at the store.  And the stripe came out of my stash.  It is Echo Park from Bundle of Joy line.  Of course, I used a My Favorite Things die to make that scallop edge along the roofline. To adhere the panels to each other I used a combination of scor-tape and what I refer to as Mary Jo's tape.  It is a double sided, 2 inch wide tape that is very strong but very pliable.  Here are a couple of photos for a visual ...


I also added a base for two reasons.  One to make it studier and two, so that I would have more place to add some of the "stuff".  From the beginning, I had an idea to add wire for the doily and ribbons.  When I got to that point, I took my birdhouse back over to my friend, Donna's house for her to see what I had done so far.  She suggested I add the wire to the roof instead of the base as I was thinking.  Friends = Good ideas!  There were only a couple of items in the bag that really gave me a "challenge".  One was the words ... Simply Real.  I went around and around with what do they mean?  In the end, I just added them to the doily and figured they could be interpreted in however you wanted.  All of the chipboard shapes and the paper doily were inked with distress inks for some color.  Here are a couple of close ups of the wire part ...


I added the stripe paper to the two hearts I placed on the front of the house.  The base is my favorite part.  I covered the base with Bo Bunny Double Dot green paper and did the My Favorite Thing grass die along the front edge in another Double Dot green paper.  I hot glued wooden bamboo sticks to the base and added the pearl chain to create a fence on two of the sides, and made a sign out of another bamboo stick with those tickets to create my "home tweet home" sign. The pre-printed home, tweet, home words came from my stash.  I didn't like the way you could see the hot glue at the base of the bamboo sticks, so I added some Flower Soft around each of the spots.  Perfect!  Here are a couple of close ups for you...


I also love the rhinestone tree in the small spool to look like a planter.  It stands up with the help of acetate and the rectangle stairs die from Art Gone Wild. ...  


There was one last item that was a huge challenge.  There was this acrylic square.  I had the hardest time trying to figure out what to do with it.  I decided to make a window in the back of the house.  Of course, I didn't decide this until the whole birdhouse was put together, so I improvised.  I put cardstock on one side and used a sharpie pen to draw panes, added a window box die (from Memory Box from my stash) and added a little flower soft.  Perfect!  Here's a photo ...


I know this was long.  But, I really wanted to share my process with you.  Thanks for letting me share all the details.  A shorter version is on The Crafty Scrapper's blog.  See you tomorrow for the Saturday sketch share.
 
Happy Stamping!
Tina   

Thursday, April 10, 2014

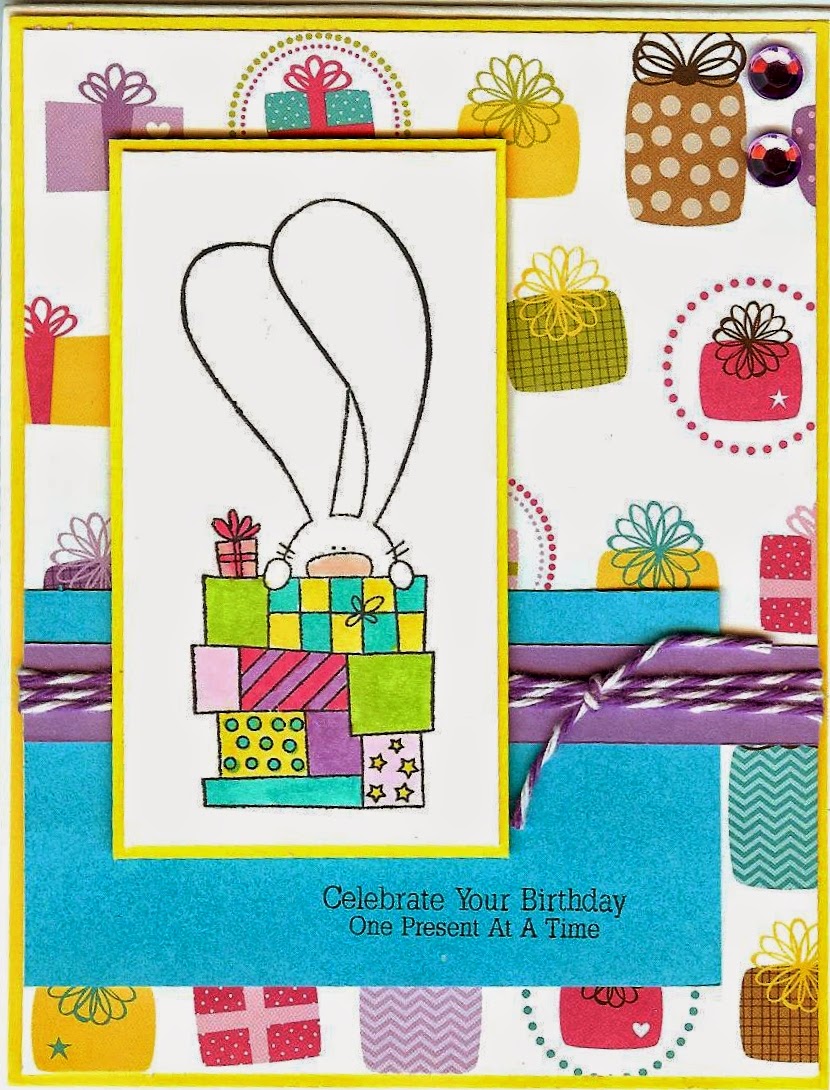
Celebrate One Present at a Time!

Hello!  I have a couple of cards that I made a while back that I haven't shown you.  They are alike except for the papers I used.  Around Black Friday last year, I got several stamps from The Cat's Pajamas.  This is one of those.  It is not one of their newer stamps, but one that I have borrowed from a friend and now, I own it!  Yea!  Here are my cards ... enjoy!


Both came out really cute.  It is always nice to have a couple of birthday cards in my stash!

Make sure you come back tomorrow ... remember that challenge project I told you about that I did for The Crafty Scrapper design team?  We were given a bag of stuff and we had to use everything in the bag and create something!  I have been waiting to show you what I made for two months.  They are putting mine on the blog tomorrow, so I can show you here tomorrow too!  I am really proud of what I made, so glad I am going to be able to share it with you! 


Happy Stamping!
Tina

Wednesday, April 9, 2014

April Class Share!

Hello!  I finally got my class samples done ... yippee!  I made one card early last week, but then I  kinda lost that creative mojo for a few days and finally got back to them early this week.  Glad they are done.  They came out really cute, I think.  My theme this month is Hello Spring!  And I got to ink up some stamp sets with some cute critters!  Here is my class cards ...enjoy!

The first one is a Pull Tab Slider Card ...


Continuing with the Die of the Month ... This month we are using the Rectangle Stairs die ...


Third card is a Diorama Box Card ...


And the fourth card ... Three cards is the norm, but they are doing a fourth card in this class to celebrate my teaching of three years this month.  This card is a surprise, but here is a tiny peek ...


Here are the details, if you can come or would like a kit ...
Hello Spring!  Wed. April 23rd 11:00 a.m. and April 26th 2:30 p.m. $25
What is spring without some cute critters?  Come make unique and fun cards using cute animal stamps from Darcies and Inky Antics.  First up, is a pull tab slider card with an adorable ducky.  Next we are continuing our die a month, this time using the rectangle stairs, to create a fun pop-up on the inside with a fox and a bunny.  The third card is a diorama box card with cute owls.  Wait, did I tell you there are four cards?  April 2014 marks my third anniversary of teaching for you, so I also have a creative thank you card for you to make, but it is a surprise!  Please bring adhesive to include tiny glue dots, scor-tape (1/8 or 1/4 inch), pop-up dots,  detailed scissors, and your preferred coloring medium.  All other supplies provided.  (Copics used (for those who have asked to know ahead of time): card 1: BG45, Y15, Y17, Y06, C0, C5, RV10, Rv13, RV14, YG03, card 2: E11, E17, E77, C1, RV10, R83, R85, G02, Y02, BG53, BG57, card 3: E31, E35, Y17, G12, G14)
I have a couple of birthday cards for you tomorrow.
Happy Stamping!
Tina

Saturday, April 5, 2014

Saturday's Sketch Share!

Hello!  I have been working off and on this week on my next class cards.  My creative mojo was a little slow going, but I got the first card done and I think I have some ideas for the next two.  I hope to get back to them this afternoon, after helping out at my church with our women's tea.  When I get them finished, I will show you them here.  Every week I show you cards that Debbie and I make, but you may not know that we actually send each other the cards by snail mail too.  On a rare occasion, I forget to take a photo of my card before I send it off in the mail.  That is exactly what happened this week, but thanks to technology, when she received it, she just texted me the photo of my card.  So, let me show you my card, Debbie's card and the sketch we both used.  Enjoy!

My Card


Debbie's Card

The Sketch
There are times when you have a very small image you would like to use on a card, but it just seems like it would get lost, if you didn't put other images with it ... this is the perfect sketch for that!  It really "highlights" that small image.  Love it.  What are your thoughts?

Happy Stamping!
Tina

 
design by suckmylolly.com